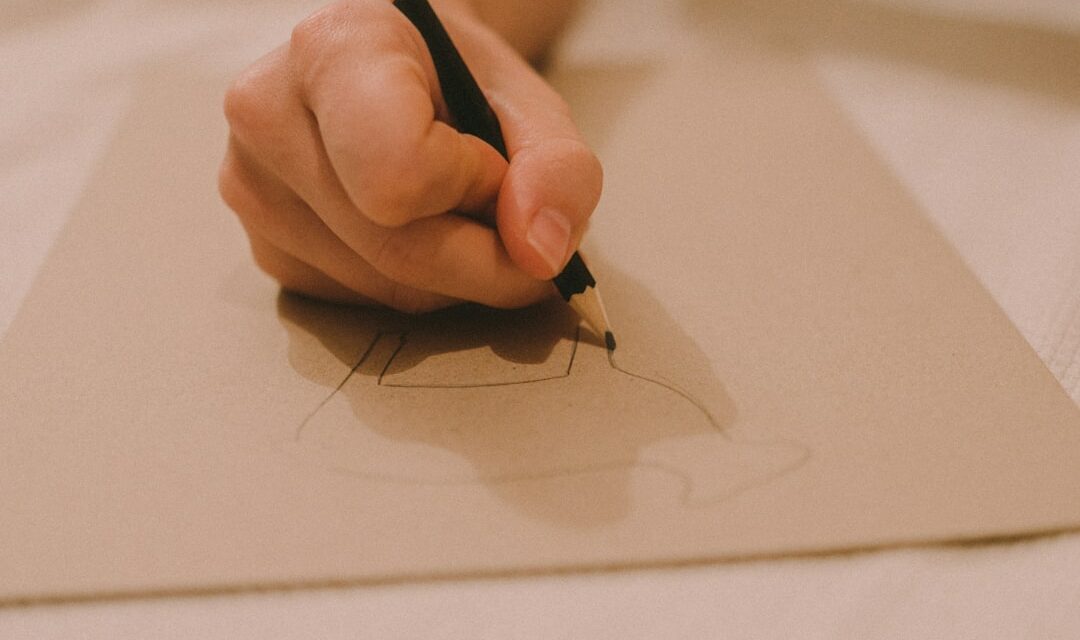
The art of pencil shading has a rich and varied history that dates back to the Renaissance, a period marked by a resurgence of interest in the arts and sciences. During this time, artists began to explore the potential of graphite as a medium for drawing. The first pencils, made from a mixture of graphite and clay, were developed in the late 16th century in England.
This innovation allowed for greater precision and control in drawing, which was essential for the detailed shading techniques that artists sought to master. The use of pencils quickly spread across Europe, becoming a staple tool for artists, architects, and designers alike. As the centuries progressed, pencil shading evolved into a sophisticated technique that artists employed to create depth and realism in their work.
The 18th and 19th centuries saw the emergence of notable artists such as Jean-Auguste-Dominique Ingres and John Constable, who utilised pencil shading to enhance their drawings. Ingres, known for his meticulous attention to detail, often used shading to create lifelike portraits, while Constable employed it to capture the subtleties of light in his landscapes. The development of various grades of pencils further expanded the possibilities for shading, allowing artists to achieve a wider range of tones and textures.
Summary
- Pencil shading has a rich history dating back to the Renaissance period, where artists used it to create depth and realism in their drawings.
- The materials needed for pencil shading include different grades of pencils, blending tools, and various types of paper to achieve different effects.
- Basic techniques for pencil shading include hatching, cross-hatching, and blending to create smooth transitions between light and shadow.
- Understanding light and shadow is crucial in pencil shading, as it helps artists create realistic and three-dimensional drawings.
- Creating texture and depth in pencil shading involves using different strokes and techniques to mimic the appearance of various surfaces and materials.
Materials Needed for Pencil Shading
Grades of Pencils
The most fundamental tool, of course, is the pencil itself. Pencils come in various grades, typically ranging from 9H (very hard) to 9B (very soft), with HB being the middle ground. Hard pencils are ideal for fine lines and detailed work, while softer pencils are better suited for rich, dark shading. A well-rounded artist’s kit should include a variety of pencils to allow for versatility in shading techniques.
Paper Quality
In addition to pencils, quality paper is crucial for effective shading. Smooth paper is preferable for detailed work, as it allows for clean lines and subtle gradients. Conversely, textured paper can add an interesting dimension to shading but may require more skill to navigate effectively.
Additional Tools
An eraser is also an indispensable tool; a kneaded eraser is particularly useful as it can be shaped to lift graphite without damaging the paper. Finally, blending tools such as tortillons or blending stumps can help achieve smooth transitions between shades, enhancing the overall quality of the artwork.
Basic Techniques for Pencil Shading
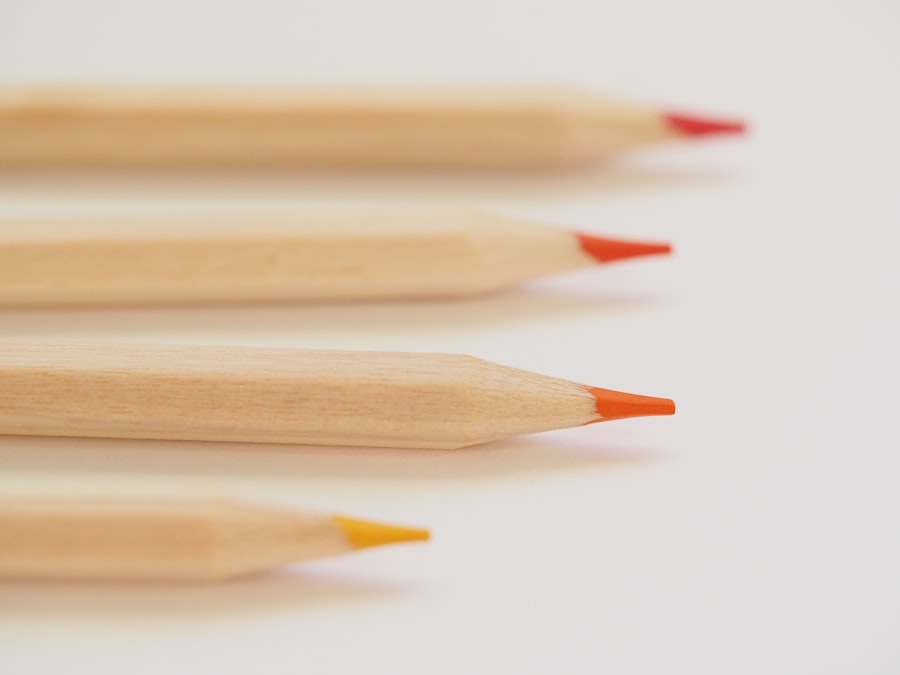
Mastering pencil shading begins with understanding some fundamental techniques that form the foundation of this art form. One of the most basic methods is hatching, which involves drawing parallel lines close together to create areas of shadow. The density and spacing of these lines can be adjusted to produce varying degrees of darkness.
Cross-hatching builds upon this technique by layering intersecting lines at different angles, allowing for even more complex shading effects. This method is particularly effective for creating depth and texture in drawings. Another essential technique is stippling, which involves using small dots to build up tone and texture.
This method requires patience and precision, as the density of the dots determines the darkness of the shaded area. Stippling can create a unique visual effect that differs significantly from traditional line-based shading techniques. Additionally, smudging is often employed to soften harsh lines and create smooth transitions between light and dark areas.
By using a finger or blending tool to gently smudge the graphite, artists can achieve a more realistic representation of light and shadow.
Understanding Light and Shadow in Pencil Shading
A comprehensive understanding of light and shadow is paramount in pencil shading, as these elements are crucial for creating realistic images. Light sources can vary significantly; they may be natural, such as sunlight, or artificial, like lamps. The direction and intensity of light affect how shadows are cast and how forms are perceived.
Artists must observe how light interacts with objects in their environment to replicate these effects on paper accurately. Shadows can be classified into two main types: cast shadows and form shadows. Cast shadows are those that occur when an object blocks light from reaching another surface, creating a distinct outline on that surface.
Form shadows, on the other hand, are the gradual transitions of light and dark on the surface of an object itself due to its curvature and texture. Understanding these distinctions allows artists to create more dynamic compositions that convey depth and volume. By studying how light behaves in real life, artists can apply this knowledge to their pencil shading techniques, resulting in more lifelike representations.
Creating Texture and Depth with Pencil Shading
Texture plays a vital role in pencil shading, as it adds interest and realism to drawings. Different surfaces require different approaches; for instance, rendering the smoothness of skin necessitates a different technique than depicting rough tree bark or soft fabric. To create texture, artists often combine various shading techniques such as hatching, cross-hatching, and stippling.
By varying the pressure applied to the pencil and adjusting the angle at which it is held, artists can produce a range of textures that mimic real-life surfaces. Depth is another critical aspect that can be achieved through careful pencil shading. Artists can create a sense of three-dimensionality by manipulating contrast; darker areas recede while lighter areas advance.
This principle can be applied effectively in portraiture by emphasising features such as cheekbones or jawlines through strategic shading. Additionally, overlapping elements within a composition can enhance depth; by shading objects that are further back more lightly than those in the foreground, artists can guide the viewer’s eye through the artwork.
Advanced Tips and Tricks for Pencil Shading
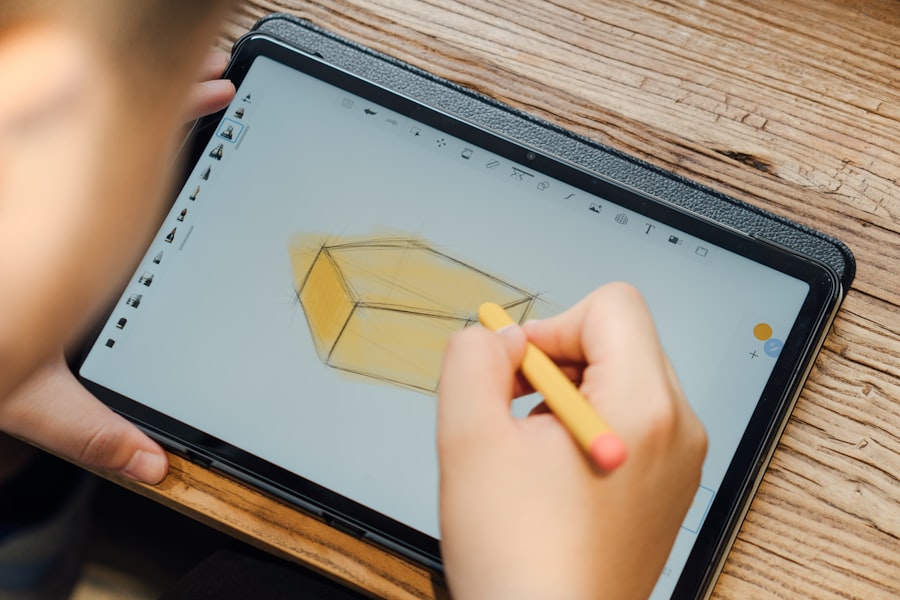
As artists become more proficient in pencil shading, they may seek advanced techniques to elevate their work further. One such technique is the use of layering; by applying multiple layers of graphite gradually, artists can achieve richer tones and smoother transitions between shades. This method requires patience but can result in stunningly realistic effects when executed correctly.
Another advanced tip involves experimenting with different pencil pressures. Varying pressure not only affects the darkness of the line but also influences the texture produced on paper. Light pressure can create delicate lines suitable for fine details or highlights, while heavy pressure can yield bold strokes ideal for deep shadows.
Additionally, incorporating negative space into compositions can enhance visual interest; by leaving certain areas unshaded or lightly shaded, artists can draw attention to specific elements within their work.
Common Mistakes to Avoid in Pencil Shading
While pencil shading is an accessible art form, beginners often encounter common pitfalls that can hinder their progress. One frequent mistake is relying too heavily on erasing rather than building up layers gradually. While erasers are useful tools for correcting mistakes or creating highlights, overusing them can lead to a lack of depth in shading.
Instead, artists should focus on layering their graphite carefully to achieve desired tones without resorting to excessive erasing. Another common error is neglecting the importance of observation when it comes to light and shadow. Many novice artists may attempt to shade based solely on preconceived notions rather than closely studying their subject matter.
This oversight can result in unrealistic representations that lack depth and dimension. To avoid this mistake, artists should take time to observe how light interacts with objects in their environment and apply those observations to their shading techniques.
Famous Artists Known for Their Pencil Shading Work
Throughout history, numerous artists have made significant contributions to the field of pencil shading, showcasing its potential as a medium for fine art. One notable figure is Leonardo da Vinci, whose meticulous sketches often featured intricate shading techniques that brought his subjects to life with remarkable realism. His studies of human anatomy exemplify his understanding of light and shadow, making him a pioneer in the use of pencil shading.
Another prominent artist known for his exceptional pencil work is Albrecht Dürer. Renowned for his detailed engravings and drawings, Dürer employed various shading techniques to create depth and texture in his compositions. His famous work “The Young Hare” demonstrates his mastery of pencil shading through its lifelike representation of fur and intricate details.
In more contemporary times, artists like Chuck Close have pushed the boundaries of pencil shading by creating large-scale portraits composed entirely of tiny squares filled with varying shades of graphite. Close’s innovative approach has redefined traditional notions of drawing and showcased the versatility of pencil shading as an artistic medium. The exploration of pencil shading continues to inspire both amateur and professional artists alike, reflecting its enduring significance within the art world.
Through understanding its history, mastering essential techniques, and learning from renowned practitioners, individuals can develop their skills and express their creativity through this timeless art form.
If you’re keen on exploring more about art techniques and styles, you might find it fascinating to delve into the world of Impressionism after learning about pencil shading. Impressionism, with its unique approach to capturing light and movement, can provide a broader perspective on artistic expression. To explore this captivating style further, consider reading An Introduction to Impressionism, which offers insightful details on how this art movement revolutionised visual techniques and influenced the art world.
